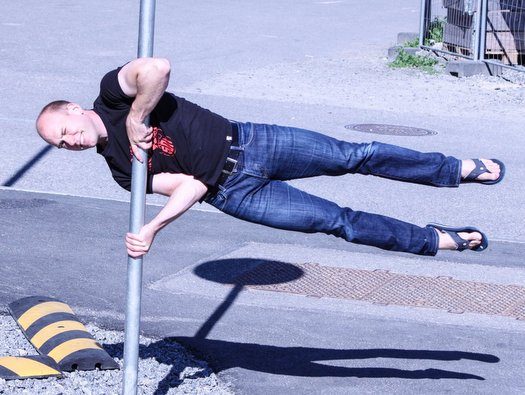
The human flag is likely an exercise that you have seen in some pop culture creation, but can scarcely believe is an exercise that people actually do. Considering that the vast majority of this exercise’s pop culture appearances are in superhero comics, action movies, and other fantastical forms of media, I wouldn’t blame the average fitness enthusiast for assuming that this isn’t an exercise that people can actually do. Indeed, I certainly thought when I was younger that this was a “fake exercise” that had somehow become a meme amongst the dyspeptic nerds that draw superhero comic books.
As it turns out, however, the human flag is, in fact, a real exercise that you can accomplish with enough time and effort.
Why Do It?
The human flag is a great method of training the entire upper body, from the hips to the arms and shoulders, and everything in between. It also gives some auxiliary work to the lower body and the muscles of the spine. Holding the body rigid against the force of gravity itself provides a tremendous workout for all muscles involved.
In addition to its practicality, it just looks cool and impressive. I guarantee that nobody else in your gym is doing the human flag in their workouts, and you’ll get respect and admiration from both sexes. And why wouldn’t you want that?
Last, and arguably best of all, this exercise costs you literally nothing to do—as long as you have some sort of vertical pole you can wrap your hands around, you can do the human flag. You do have a vertical pole near you, don’t you?
The Two Types of Flag
As the heading states, there are two types of human flag: the clutch flag and the hang flag, arranged in order of increasing difficulty. The clutch flag, while by no means easy to master, is vastly easier than the hanging flag.

As such, this article will deal with the clutch flag, and a later article will deal with the hanging flag.
The Steps
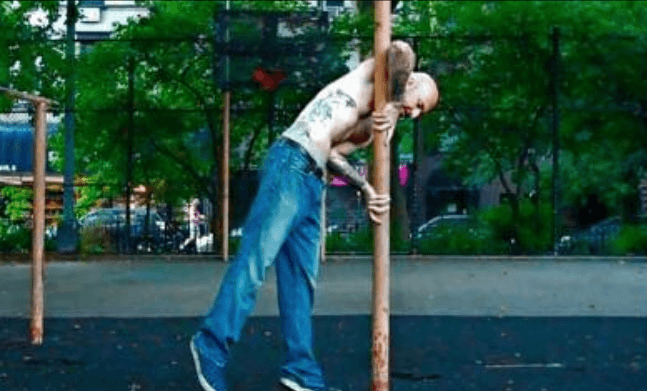
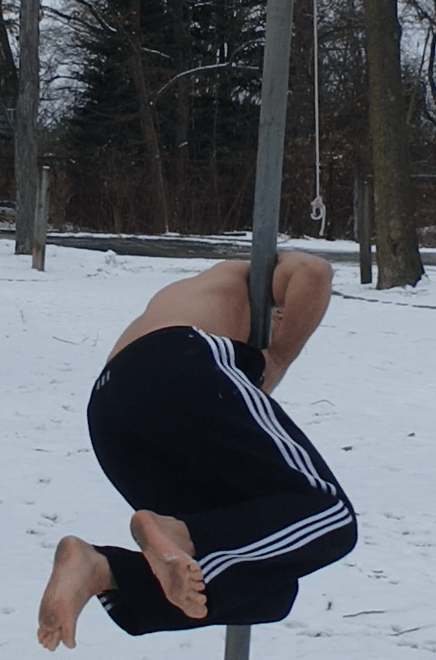
Before we can actually start doing the clutch flag, we have to learn how to set it up by doing a clutch hang. To do this, approach your vertical pole and stand to its side. Extend your stronger arm straight out, and sort of wrap it around and curl it back over the pole, tucking the pole into the armpit. Simultaneously grasp the pole with your hand, making sure to point the thumb downwards
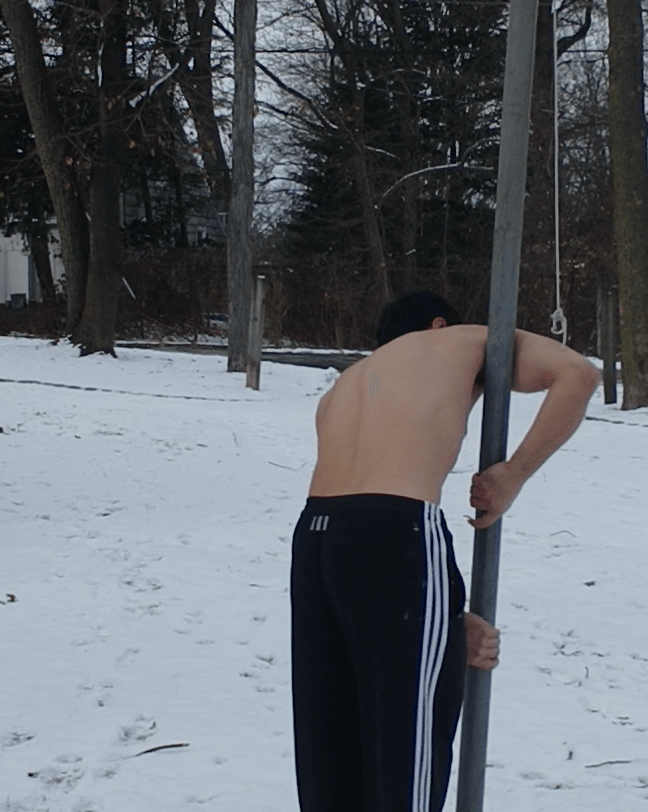
Then with the other hand, grasp the pole around hip or stomach level, making sure to keep your thumb up. This arm (the elbow more specifically) will act as support in the exercise, bolstering your body by jutting against the hip and making the clutch flag much easier than the hanging flag, in which only your arms and shoulder girdles support the body weight.
With your arms in the proper position, shift your body weight forward until your feet leave the ground. Do not twist your body or otherwise try to make it horizontal, just get off the ground and hold. This is the clutch hang.
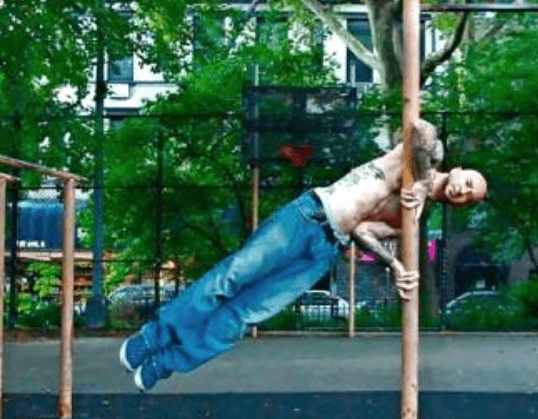
As with most static holds I teach you, when you are capable of holding this for ten seconds, you can move on. Now you truly begin to incorporate the lower body. The tuck flag has you take the clutch position, then pull and tuck your knees as high as you can. Your body will likely be diagonal to the ground at this point—that is completely acceptable.
Then we will do the half tuck. Take the tuck position you did previously, and then extend one leg (typically the stronger leg) out and off the ground, while keeping the other leg tight and tucked. If you cannot do this, just extend the strong leg as far as you can, gradually building up inch by inch. Next, the fully extended diagonal flag starts with a tuck flag and then extends both legs fully out and diagonal. Similarly to the other steps, if you can’t do this at first, extend the legs gradually.
After this, you begin holding the body horizontally in all subsequent steps. The first step of this series is the horizontal tuck. Take the clutch hold, and then twist and lift your body up and horizontal. Try to imagine bringing your hips up and in line to the strong arm.
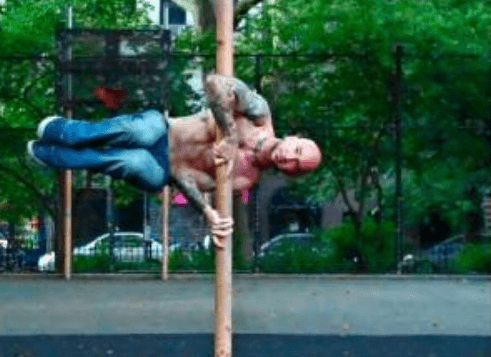
From here, the steps are largely what you would expect based on the steps of the diagonal tuck exercise. The first step is to extend one leg and tuck the other leg, gradually extending it by inches if you can’t do it. Then, if need be, extend both legs halfway
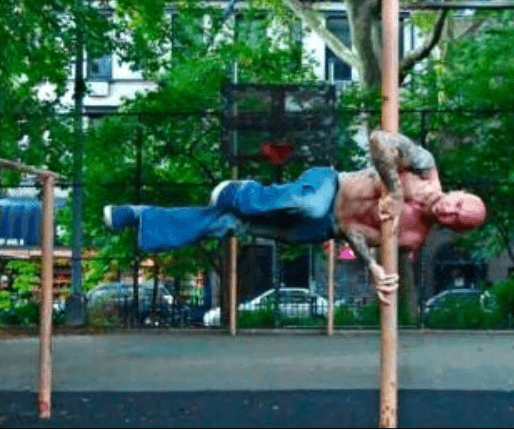
And finally, once you can hold the preliminary steps for at least ten seconds, try to extend your legs fully. Personally, I find that if you tuck your legs and then extend your legs out quickly and forcibly, it’s easier than if you were to try to raise your legs up from a standing position, or extend them slowly. As usual, if you can’t do it, extend them as much as you can and slowly build up.

Conclusion
And with that, you have mastered the clutch flag. While tricky, it’s not nearly as difficult as you’d think, and it’s very impressive to the lay person. Plus, it provides a necessary prerequisite to the hanging flag which is a whole ‘nother, much more difficult beast, which perhaps we will deal with another time.
Read More: How To Start Training The Front Lever For Strength And Flexibility
So what’s harder? The human flag, or walking around in the snow without shoes?
I make a funny joke and someone downvotes it???
Nuns, no sense of humour.
Doing fizz,in the buff, up a mountain, in the snow at about -20.
What the hell is a “layperson”?
I will assume you mean LAYMAN.
a lay person is that fictional character that is a completely politically correct nobody
I can never take a man wearing sandals seriously.
‘Bout Jesus?
When I have a woman on top she looks like a flag on my pole.
Dont see too many fat, round flags…
Keep searching I’m sure you will find one that fits your body type.
If you want to isolate your obliques, do weighted side planks. I do them and as a bodybuilder I cannot afford to do exercises that cause soreness and possibly even wear and tear of the joints in random places.
I once tried pole dancing and it was the most frustrating thing I ever did; I imagine my shoulders would be completely torn if I had to do that for a year.
Good article. I’d like to get better at this kind of monkey-business. My kids would think that was pretty cool. Maybe some ladies, but I usually don’t, you know, out-right out-right peacock. I’ll leave that to the 20 year olds. I’d like to be able to these flag-holds still.
aside from doing the flag is being nothing more than an attention whoring move what practical purpose or training effect do you really get out of it? really. it is a show off textbook”look at me move”…
if you’re going to bother to train you should be doing it for yourself and not for the attention whoring bit. the public recognition of your efforts should be a side effect of your training for the end goal of self-improvement not public validation.
Sadly, this articles are so useless, when most men make a few thousand steps a day in best case scenarios, as physical training. If you’re not highly trained chances are you’re only going to harm your joints by attending something stupid as this human flag. Articles on how to acchieve 10k steps daily would go a far longer way than this.
Articles on proper syntax and grammar would go a long way for you, personally.
This move seems more like showboating than an effective exercise. Find a gym with good climbing ropes, or buy one yourself and tie to a sturdy overhead anchor, learn the method, climb up and controlled descent, repeat until knackered or bored stiff. Crash mat is optional but I always like the fear factor, good motivator to not fall!
There are a few different methods for climbing a rope, the one I use as taught in the British army is take your strongest hand (left or right) and encircle the rope, then wrap your left hand around the right (or visa versa). For safety never remove your hands from the rope as you ascend, allow it to glide through your hands as you move your arms up then clamp your hands to grip. Bring your knee (right or left) up 90 degrees allowing the rope to pass on the outside of the knee to the inside of your insole. Taking your body weight bring up your other knee until the rope is clamped between the insole of the top foot and the top of the other foot, then step up transferring your body weight to your legs. Once in the ‘standing’ position slide your hands up the rope and repeat the actions until you get to the top, descent is relaxing the clamp on the rope but still enough pressure to allow friction slowing your descent and take one hand off the rope, lower it to about waist height and grip the rope, then, hand over hand control your descent. Dont be a hero, keep it steady and make sure you always have one hand gripped before you release the other.
just a quick side note, the friction on descent should be between your feet, not your hands and be ready to clamp your feet if you feel you’re descending too fast or need a rest
A downvoted commenter is a respected one.